 ultimate-guide
How Much Water Does Xeriscaping Save? Real Numbers
Table of Contents
- The Real Numbers: How Much Water Does Xeriscaping Save?
- Xeriscaping vs Traditional Lawn Water Usage: A Side-by-Side Look
- The 7 Principles of Xeriscaping That Drive the Biggest Savings
- Plant-Specific Water Needs: Not All Drought-Tolerant Plants Save the Same
- How to Start a Xeriscape Project: A Step-by-Step Implementation Timeline
- Your ROI Calculator: Turning Water Savings into Dollar Savings
- Common Myths About Xeriscaping and Water Conservation
- Frequently Asked Questions
Last Updated: September 22, 2026
The Real Numbers: How Much Water Does Xeriscaping Save?
Xeriscaping saves water by replacing thirsty turf grass with climate-appropriate plants, and the difference shows up fast on a utility bill. A typical xeriscape conversion cuts outdoor water use substantially compared with a conventional lawn, because the design relies on native plants, mulch, and efficient irrigation instead of daily sprinkler cycles.
Gallons per Square Foot: Xeriscape vs. Traditional Lawn
The most useful way to measure savings is gallons per square foot per year. A conventional cool-season lawn such as bluegrass turf can demand far more supplemental irrigation than a xeriscape planted with drought-tolerant species. The EPA WaterSense outdoor water use guidance notes that outdoor water use can account for a large share of total residential water consumption in drier regions, and much of that goes to landscape irrigation.
Xeriscaping vs Traditional Lawn Water Usage: A Side-by-Side Look
The gap between the two approaches comes down to plant choice, irrigation method, and how much water evaporates before it ever reaches a root. Here's how the two compare across the factors that drive outdoor water use.
| Factor | Traditional Lawn | Xeriscape |
|---|---|---|
| Dominant plants | Bluegrass and cool-season turf | Native and drought-tolerant perennials |
| Irrigation method | Sprinklers, frequent cycles | Drip irrigation, deep and infrequent |
| Mulch coverage | Minimal | Heavy organic and gravel mulch |
| Peak-season watering | Daily to every other day | Weekly or less once established |
| Water lost to evaporation | High | Low |
The 7 Principles of Xeriscaping That Drive the Biggest Savings
The seven principles of xeriscaping are the framework that turns a water-wise idea into a working landscape. Each one targets a different source of waste, and together they compound.
- Plan and design for the site. Match the layout to sun, slope, and drainage before planting anything.
- Improve the soil. Add organic matter so soil moisture stays where roots can reach it.
- Limit turf. Keep only the grass you actually use, and shrink the rest.
- Choose climate-appropriate plants. Native vegetation and well-adapted species need less supplemental water.
- Use mulch. Mulching slows evaporation and suppresses weeds.
- Irrigate efficiently. Drip irrigation and smart controllers beat broadcast sprinklers.
- Maintain the landscape. Proper pruning and seasonal care keep plants healthy and water use low.
Plant-Specific Water Needs: Not All Drought-Tolerant Plants Save the Same
The single biggest myth in xeriscaping is that it means rocks and gravel with a few cacti. That is "zero-scaping," and it is not what delivers the 50-80% savings figures you see quoted. The savings come from matching plant water needs to your site, a practice called hydrozoning. Get this wrong and you can install a "drought-tolerant" landscape that still guzzles water.
The three water-use tiers
Most water-wise landscapes group plants into three tiers:
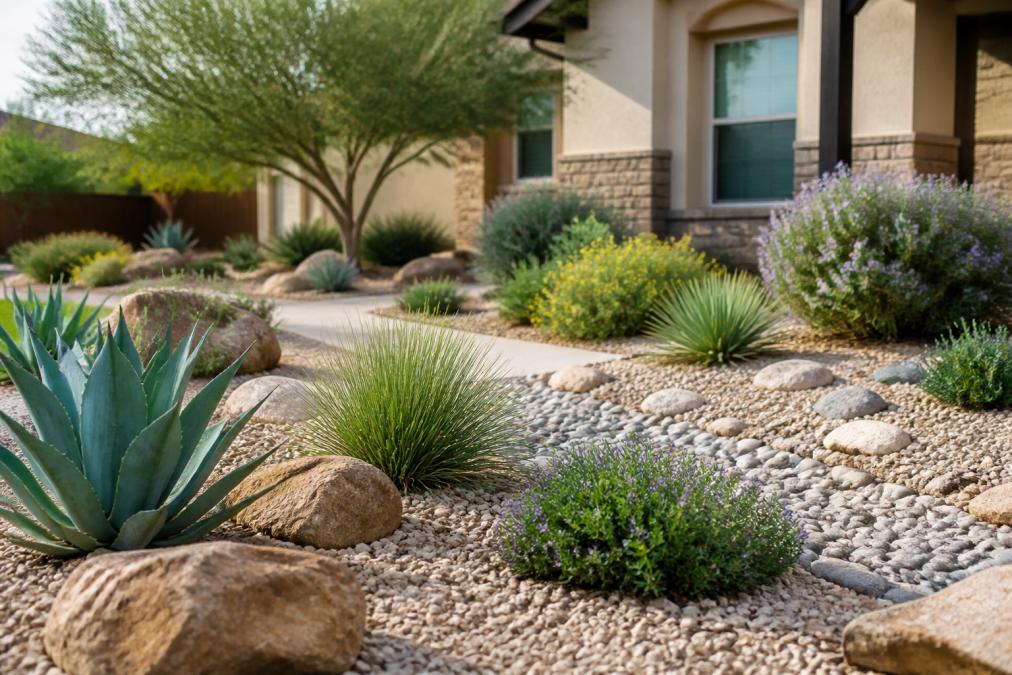
- Low-water (native/adapted): survive on rainfall alone once established in most climates. Examples include lavender, yarrow, sedum, penstemon, and many native grasses such as blue grama. Typical supplemental irrigation: 0-5 gallons per square foot per year after establishment.
- Moderate-water: need deep watering every 2-3 weeks in peak heat. Examples include salvia, coreopsis, and many ornamental grasses. Typical supplemental irrigation: 5-12 gallons per square foot per year.
- High-water accents: need weekly water in peak heat. Examples include most annuals, tropicals, and shade-loving perennials like hosta. Typical supplemental irrigation: 12-20+ gallons per square foot per year.
The goal is not to eliminate the high-water tier. It is to shrink it to small, visible pockets where you want a focal point, and keep the bulk of the yard in the low and moderate tiers.
Why hydrozoning matters more than plant choice
Hydrozoning means putting plants with similar water needs on the same irrigation valve or hydrozone. If you mix a lavender (low-water) with a hosta (high-water) on the same drip line, you will either drown the lavender or starve the hosta. Most DIY conversions fail here: the homeowner picks plants by looks, not by water need, and then overwaters the whole bed to keep the thirstiest plant alive.
Zero-scape vs. low-water: the distinction that matters
| Approach | Plant diversity | Water savings vs. lawn | Curb appeal |
|---|---|---|---|
| Zero-scape (rocks + gravel) | Very low | High, but often overstated | Low; heat-island effect |
| Low-water xeriscape | High | 50-80% typical | High; seasonal color and texture |
| Traditional lawn | Very low | Baseline | High, but water-intensive |
Gravel alone does not save water the way a planted xeriscape does. Bare gravel heats up, reflects heat onto nearby plants, and provides no soil moisture retention. A planted xeriscape with mulch and groundcover keeps soil cooler and holds moisture, which is where a large share of the savings actually comes from.
How to build your plant list
- Identify your low-water workhorses first. These should be 60-70% of your planted area.
- Add moderate-water plants for seasonal color and structure. Target 20-30%.
- Reserve high-water accents for 10-15% or less, grouped in one or two visible spots.
- Check each plant's mature size and sun needs, not just its water label, so you do not create a maintenance problem later.
This tiered approach is what lets a xeriscape deliver real savings without looking like a gravel lot. It is also what makes the landscape resilient: if one tier struggles in a dry year, the rest of the yard carries the design.
How to Start a Xeriscape Project: A Step-by-Step Implementation Timeline
Starting a xeriscape project takes planning first and planting second. A realistic timeline runs from a few weeks for a small bed to a full season for a whole-yard turf conversion.
Phase 1: Site Assessment and Soil Health Check
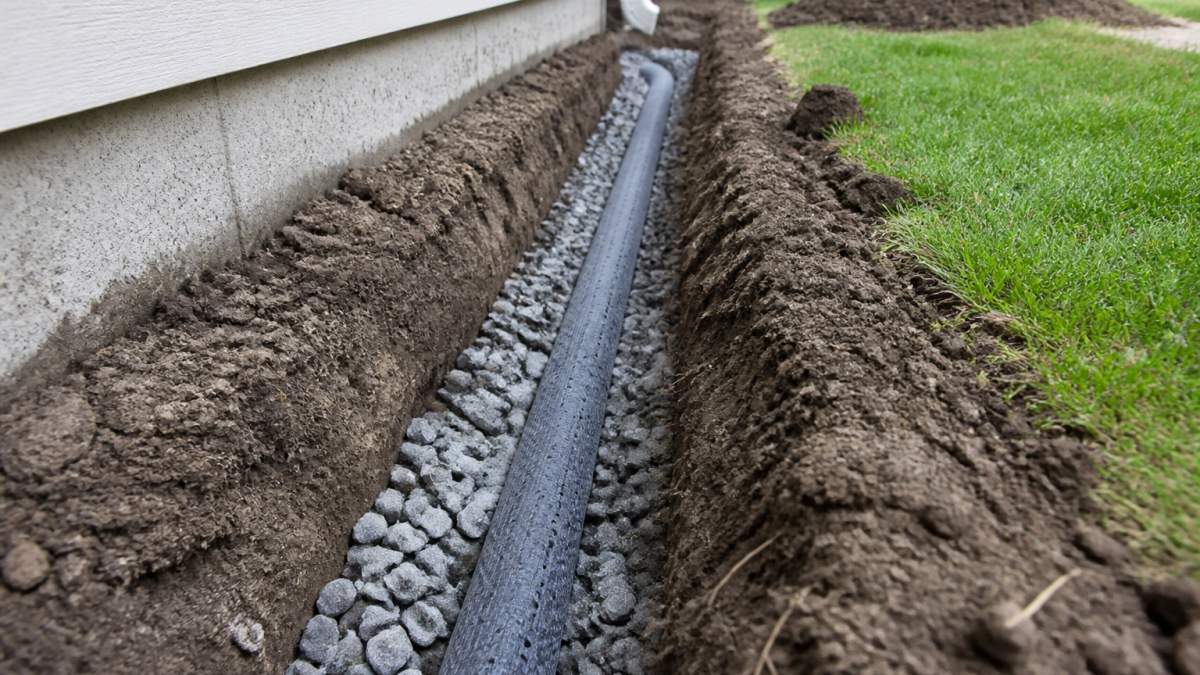
Begin with a site assessment. Map sun exposure, slope, and where water pools after heavy rain. Test the soil, because soil health and moisture retention decide how often you'll need to irrigate. Fixing drainage now prevents the flooding and erosion problems that ruin new plantings.
Phase 2: Hydrozoning, Plant Selection, and Mulching
Group your plant list by water need, then lay out hydrozones before you dig. Select native and well-adapted species for each zone, install drip irrigation, and finish with a generous layer of mulch. New plantings need regular water for the first season or two; after that, most xeriscapes settle into a low-maintenance rhythm.
Your ROI Calculator: Turning Water Savings into Dollar Savings
Most articles stop at "50-80% savings." That range is useless until you convert it into gallons and dollars for your own yard. Here is a step-by-step method you can run in a few minutes, plus the variables that change the answer.
Step 1: Estimate your current outdoor water use
Start with your irrigation meter or your summer water bills. A common pattern is that outdoor use spikes 40-70% above winter baseline in warm months. Multiply the difference by the number of peak-season months to get a rough annual irrigation total.
Step 2: Estimate your xeriscape use
A well-designed xeriscape with native and drought-tolerant plants, drip irrigation, and 3-4 inches of mulch typically needs 20-50% of that figure once established. Using the same 30-week season, that is roughly 3.7-9.3 gallons per square foot per year. The wide range reflects plant choice, climate, and soil.
Step 3: Calculate gallons saved
Gallons saved per square foot = lawn use − xeriscape use
Step 4: Convert to dollars
Annual savings = gallons saved × your cost per gallon
Step 5: Factor in rebates and payback
Many utilities offer turf-replacement rebates that cover part of the conversion cost. Check your provider's current program before you start, because rebate amounts and eligibility change annually. To estimate payback, divide your net project cost by your annual dollar savings. A common pattern for payback can vary, depending on factors like yard size, local water rates, and the scope of the conversion.
A quick reference table
| Yard size | Est. lawn use (gal/yr) | Est. xeriscape use (gal/yr) | Est. gallons saved |
|---|---|---|---|
| 1,000 sq ft | 18,600 | 3,700-9,300 | 9,300-14,900 |
| 2,000 sq ft | 37,200 | 7,400-18,600 | 18,600-29,800 |
| 5,000 sq ft | 93,000 | 18,500-46,500 | 46,500-74,500 |
These are estimates based on common irrigation patterns, not guarantees. Your soil, slope, sun exposure, and plant selection will move the numbers. The point is to replace a vague percentage with a figure you can actually plan around.
Common Myths About Xeriscaping and Water Conservation
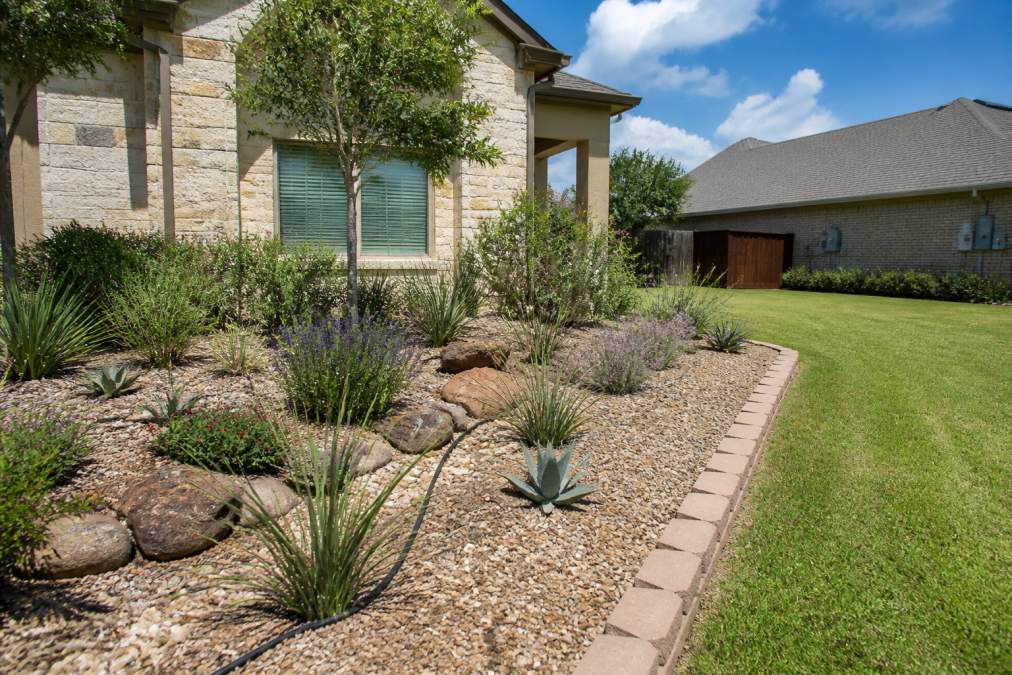
The biggest myth is that xeriscaping means rocks and gravel everywhere. A well-designed xeriscape is full of color, texture, and seasonal interest, using native perennials, ornamental grasses, and hardscaping to build structure. Gravel is one tool, not the whole design.
Frequently Asked Questions
What are the disadvantages of xeriscaping?
The main drawbacks are upfront installation cost, which can run higher than seeding a traditional lawn, and slower establishment while native plants develop root systems. Some homeowners also miss the look of a green lawn, though well-designed xeriscapes use color, texture, and hardscaping to stay visually interesting. Maintenance does not disappear entirely; it shifts to seasonal pruning, mulching, and occasional irrigation checks. In Texas heat, a poorly planned xeriscape without proper hydrozoning can still waste water, so design quality matters as much as plant choice.
Is xeriscaping cheaper than traditional grass lawns?
Over time, yes. The upfront cost of xeriscaping can be higher because of soil prep, mulch, and plant installation, but the annual savings add up. A traditional lawn needs regular mowing, fertilizing, and heavy irrigation, especially in Texas summers. Once a xeriscape is established, water use drops significantly, mowing is reduced or eliminated, and fertilizer needs fall. Most homeowners see the break-even point within a few years, depending on yard size, local water rates, and how much of the lawn is converted.
Does xeriscaping require zero maintenance?
No. Xeriscaping reduces maintenance but does not eliminate it. You will still need to prune perennials, refresh mulch, check drip irrigation lines, and remove weeds. The difference is that the work is lighter and less frequent than mowing, edging, and watering a traditional lawn. Native and drought-tolerant plants are adapted to local rainfall and soil, so they need less coddling once established. A realistic expectation is 50 to 70 percent less routine maintenance than a conventional turf lawn.
Can xeriscaping be used in residential front yards?
Yes, and front yards are often the best place to start. A front-yard xeriscape improves curb appeal with native plants, decorative gravel, and flagstone or paver pathways while cutting outdoor water use. Many Texas homeowners begin with a partial conversion, keeping some turf for kids or pets and replacing the rest with drought-tolerant beds. Check local HOA rules before starting, since some associations have landscaping requirements. A professional design plan can help you meet those rules while still achieving water savings.